|
Tittri
\ (◡) /

|
|

02-21-2007, 06:49 PM
Coloring
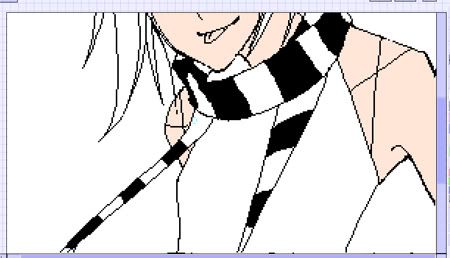
Once you've finished your lineart and is satisfied with it, you are ready to color.
* Make sure your lineart is all on Layer FG
* Then make sure you are on Layer BG.
Usually, I start out with the skin. choose a base skin color down first. Clean it up so the colors aren't sticking out of the lineart.
Then, click on the 'mask' tool twice to switch to the 'remask' tool again. Select the base color you put down for the skin, then right click on the 'remask' tool. Then select a darker color to shade the skin, switch to the 'solid' tool again then color away. The remasking tool allows you to change the selected color, and the selected color only.
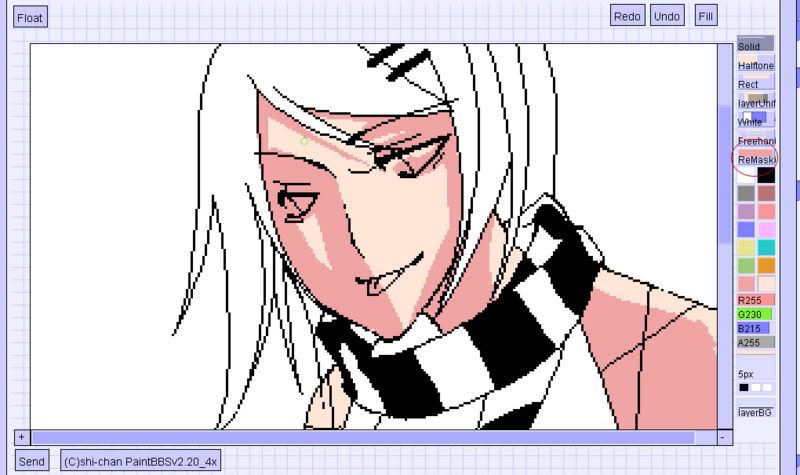
Once you are satisfied with the coloring for the skin, make sure that there are no stray marks. Then switch back to Layer FG and layer unify. This gives you a little more freedom when you color a different part of the picture since you don't have to worry about messing up the skin.
Switch back to Layer BG and use the same technique to color a different part of the picture, such as the hair. Once you're done, layer unify, and rinse, lather, repeat.
Once you are finished coloring the entire picture, layer uify the picture onto Layer FG. On layer BG, scribble down a background, and you're finished with your oekaki!
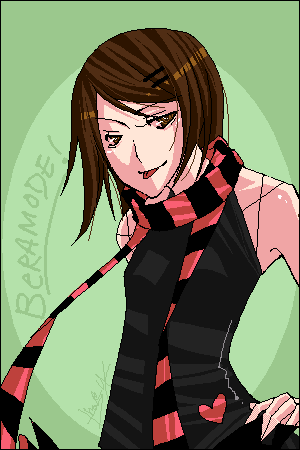
Finished Oekaki!!
I hope this tutorial was somewhat helpful :D feel free to ask questions!
|
|
|
|