THE BOTTOM ROW

The bottom row is the next part of Flink's tutorial. In the bottom row you have most of your basic formatting for a post. Including Bold, Italic, Underline, even alignment. Like with the first part, Flink will be going from left to right with the icons on the bottom row of the WYSIWYG interface of Menewsha.
Including will be screen caps, and other nice fun official stuff along with her usual silliness. So sit back, relax, and at least pretend to listen.
First things first, is the
Bold icon, remember when using it like everything else on the tutorial to select the text you would like to
bold. Then click the
bold button, same goes for the
italics and
underline functions:

Next you have the alignment icons. From left to right they are well.... Left to right. Heh. First one is left, second is center, and last is right align. When Flink gets this paragraph big enough she'll center align it just to show everyone what the big deal about center alignment is. It's really centered, and not in the spiritual sense.

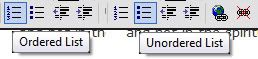
Now, next you'll see the "Ordered List" and "Unordered List" buttons. Right now Flink will tell you the basics about them and later, in a seperate post she'll elaborate on new and interesting ways to fix the lists.
For a basic list all you need is to type something, remember to press enter after each thing you want listed:
Then select it.
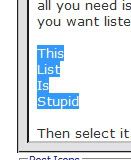
And click whichever list you wanted to use. Flink is using the unordered list, because as a stupid list, it should be unable to count.
Next up on the tutorial are the indent icons. They are Decrease Indent and Increase Indent.

Flink is going to play around with the indent of the header for this post, since it's closer to the top. So after you look at this, please pay attention to how close, or how far the header is from the left side of the post area.
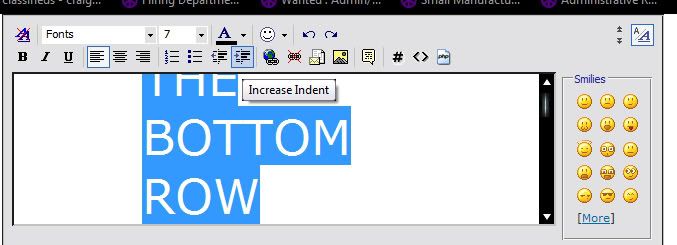
Flink also pressed "Increase Indent" three times.
NOTE: Indent is NOT a replacement for the alignment tags/functions. If you want your text center aligned, use the center function, NOT the "Increase Indent".
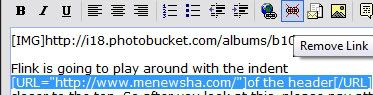
Flink's so sorry it's taken her so long, but as promised the URL and image icons are going to be covered. First one is the Insert Link button.

Like almost everything else select what you want to link. When you click the "Insert Link" button a dialog box will pop up, just enter the link you into the box.

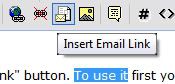
The button beside it is the "Remove Link" button. To use it first you select the text, including the URL code you want remove, then click the button.
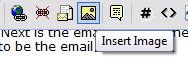
It'll remove all of the URL information. Next is the email link. Like the Insert Link you have to select the text you want to be the email link.
Also like before with the insert link button, a box will pop up asking you for the email address you want to use. Type in the email address, then click OK and you have created a link to your email!
For the insert image button, you just click it and paste the link of the image you want added to the post.
Last but not least, the quote tag! A very useful tag indeed. For quotes you select the text you want to make a quote:
Quote:
|
Originally Posted by Channah
Makes You Wonder Doesn't It....
|
You can also make it show who you quoted. In this case Flink is quoting Channah's signature, therefore she's quoting Channah.


This concludes Flink's WYSIWYG Tutorial.