|
Tittri
\ (◡) /

|
|

03-03-2007, 10:45 PM
This is also another tutorial that is fairly old. It covers basic tools & simple soft cell shading.
You do not need a tablet for this, because I do not use pressure sensitivity :> Remember, experimentation and practice makes perfect.
Now excuse me as I pretend to know something about CG-ing on Photoshop.
You need:
-Adobe Photoshop
-Computer
-An idea of what you want to draw
-...MUSIC. music makes the world go round :> I chose the Portishead album this time.
BEGIN
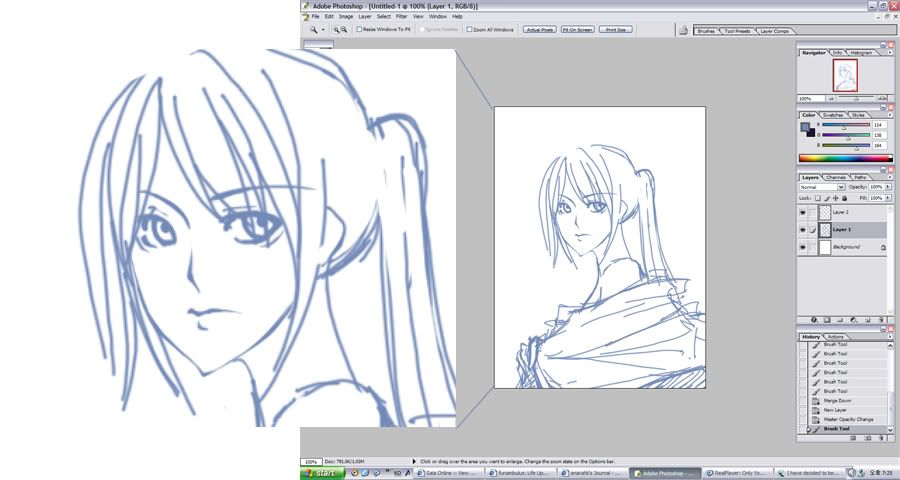
Step 1: Sketch sketch sketch :>
Take the 'BRUSH' tool at 3px or 5px and sketch out the basic drawing. Mine tend to be messy, usually. However, to make it easier on yourself, clean it up a bit before you ink it. :> Also, its generally easier to ink if you sketch in a color other than black.
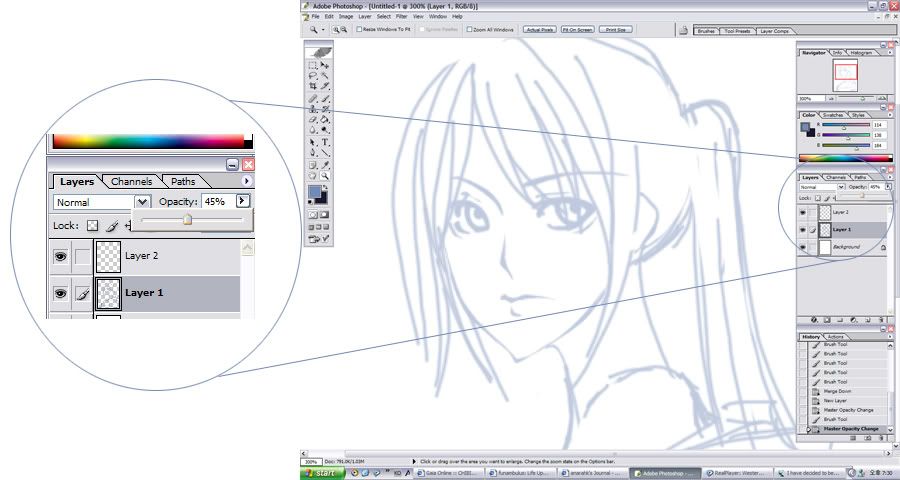
Step 2: After you're done with the sketch, change the opacity, so its easier to ink. Make sure you can still see it, but not confuse it for the inking later on. ...Some people dont do this. It's just a minor step for stupid blind people like me
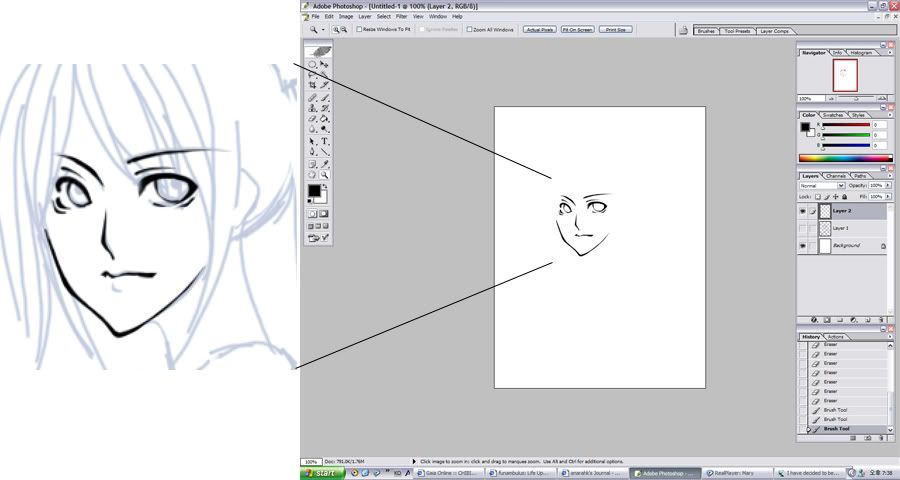
Step 3: Start inking, with the 3 px 'BRUSH' tool. Opacity 100%, flow 100%. I zoom in about 200% when I ink. Also, zoom out to 100% often to make sure it doesnt look icky. I'm not inking the hair.
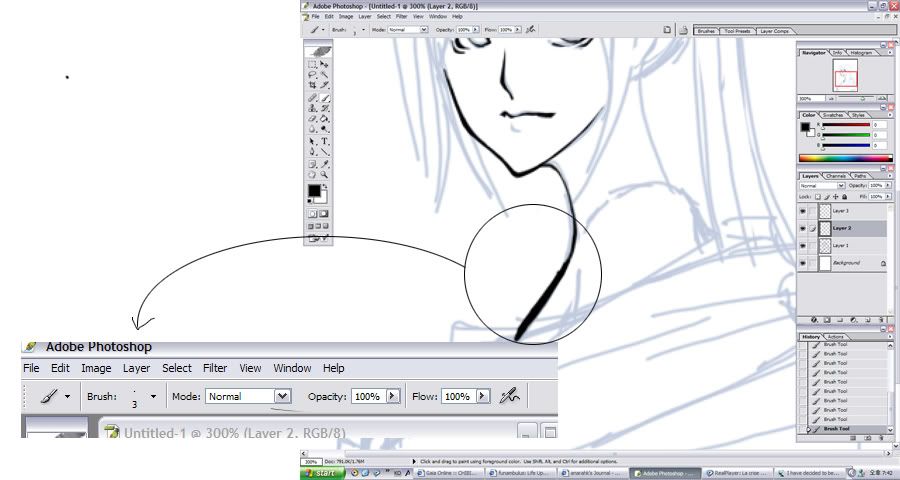
This is how I ink. Glop on alot of the brush. Make really thick llines...
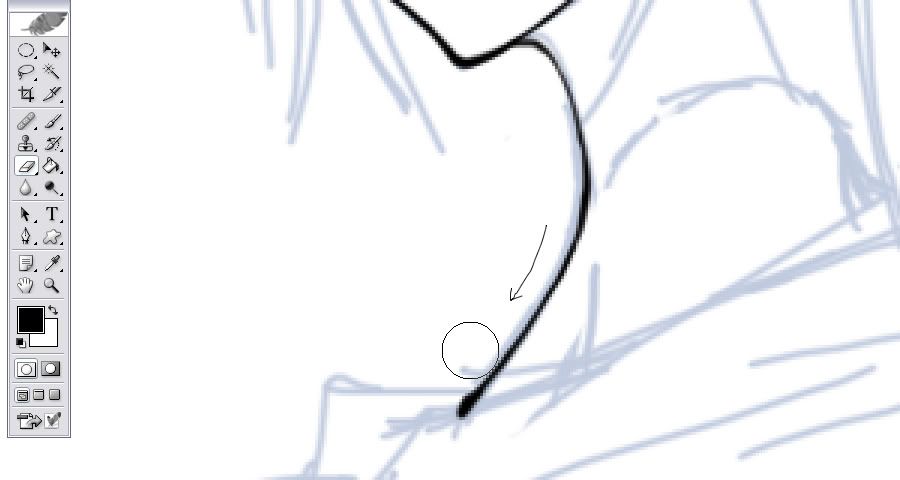
Then clean it up with the eraser tool. :>
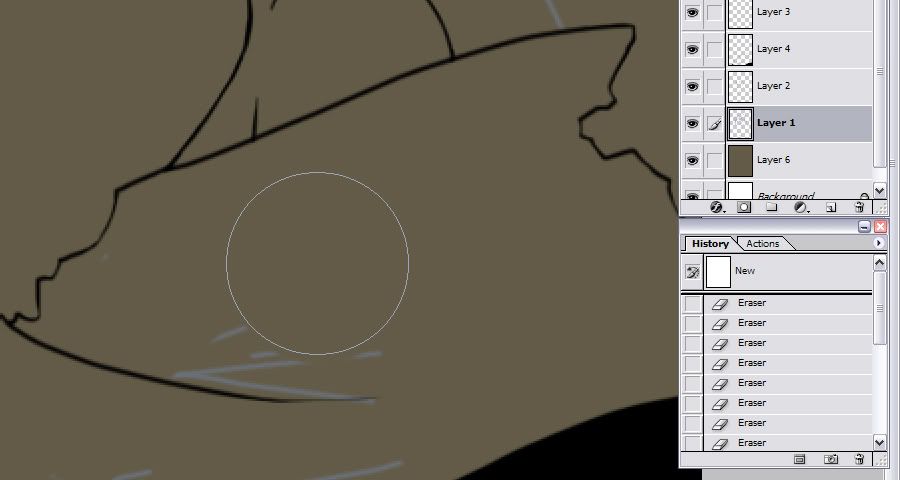
Step 4: Create a layer at the very bottom and lay down a bg color using the 'FILL' tool. Or the paintbucket tool.
Erase the sketch lines, except for the hair lines
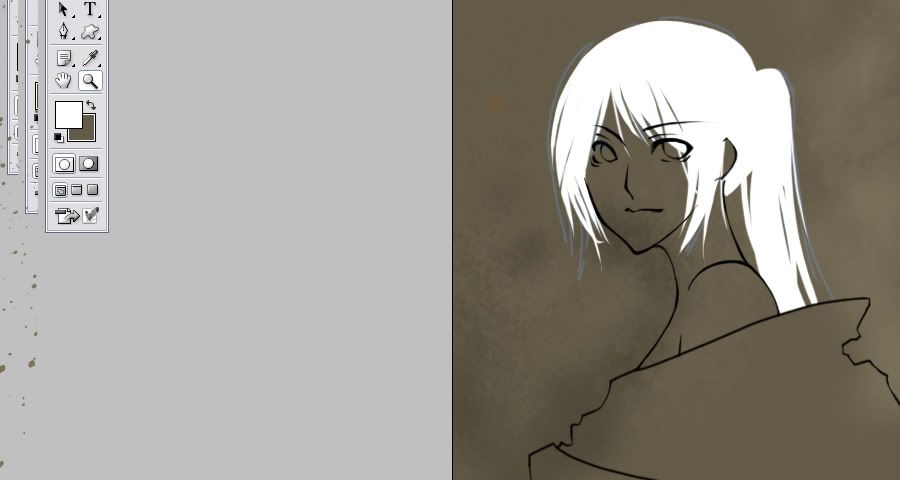
This is what it should look like cleaned up.
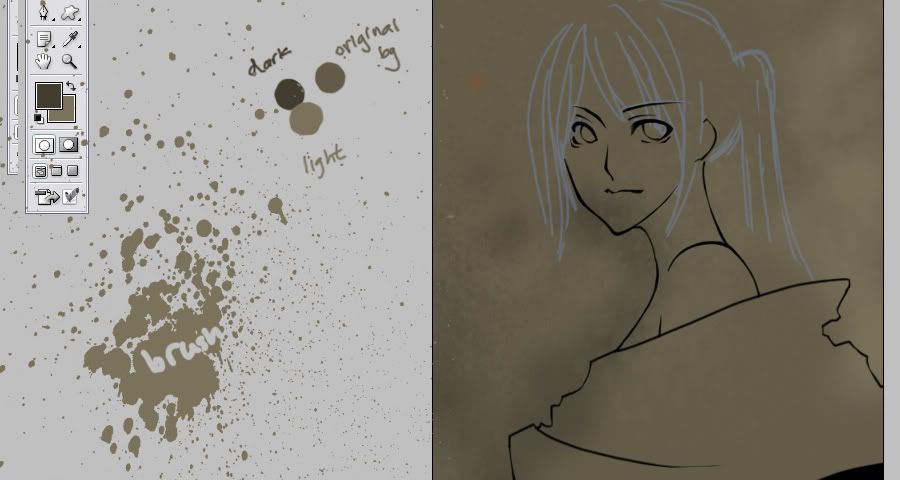
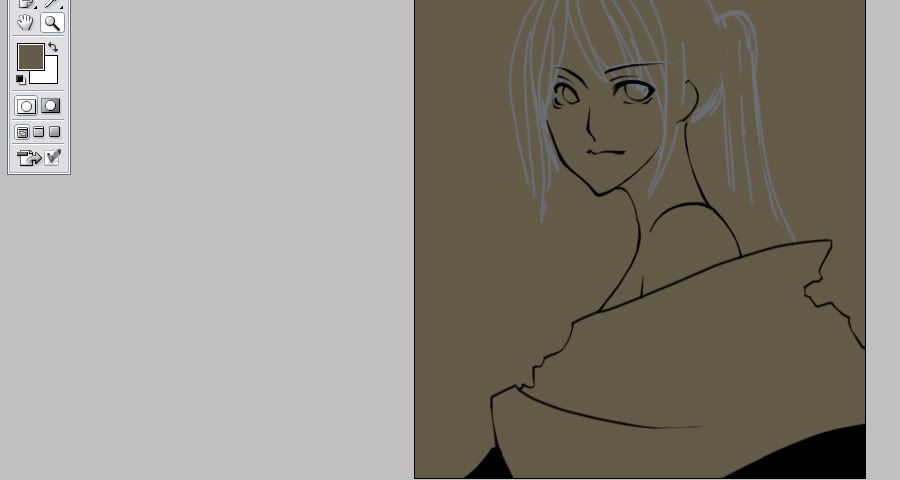
Step 5: Use the SOFT BRUSH at 20 something px and shade in the bg and highlight it a bit, to create a contrast AND choose a lightsource.
You can also use a brush you've downloaded /created if you wish.
keep the OPACITY at a lower percentage to make it blend better.
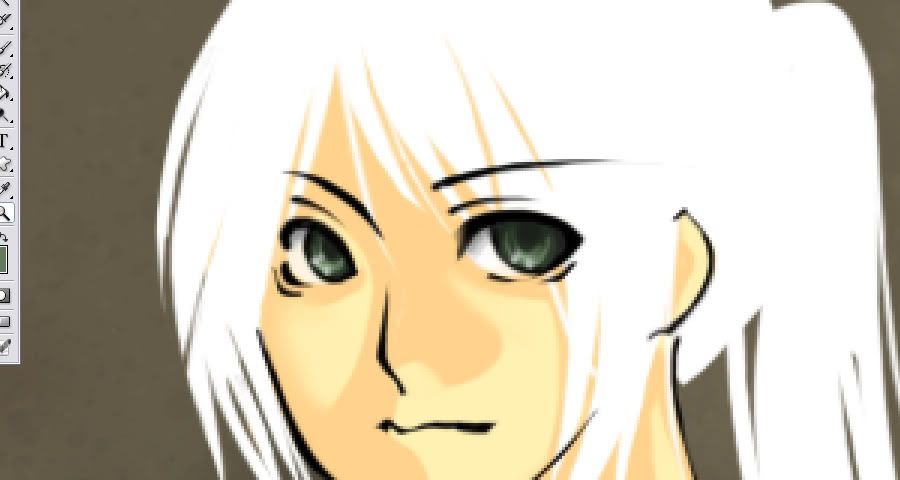
Step 6: Use the HARD BRUSH tool to draw the hair, in solid white. (DIFFERENT LAYER >_<) (You can choose to use a different color for the hair.) Afterwards, erase the sketch lines for the hair.
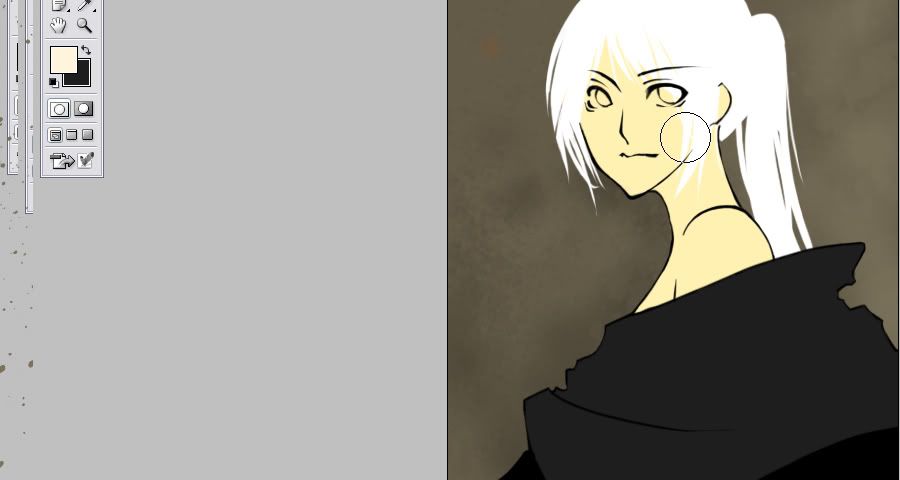
STEP 7: UNDER THE INKING AND WHITE HAIR, create a layer and lay down the flat colors for the skin, and another for the clothing.
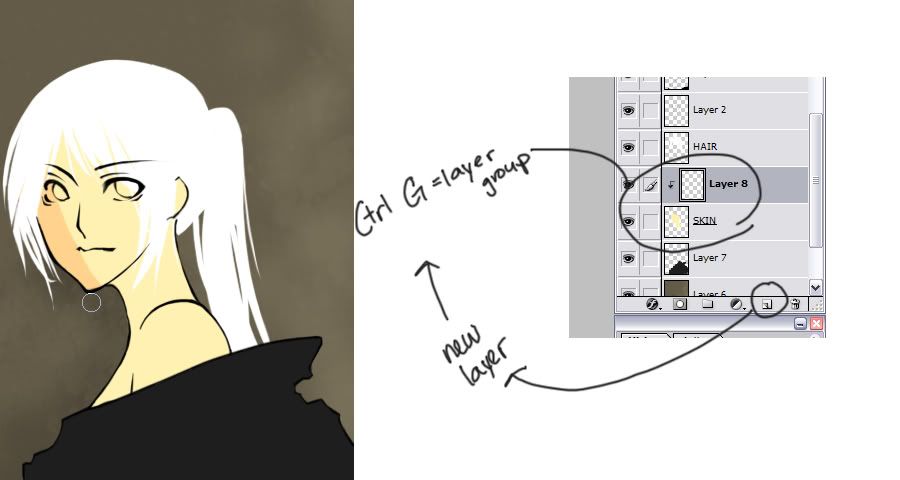
Step 8: Create NEW LAYER, right above the SKIN layer, and press CTRL + G. This will group the two layers. What this means is that the Layer you have just created can only draw within the boundaries of the preexisting layer. The shading in this screencap only shows ABOVE the original skin flat color. Lay out the basic shading.
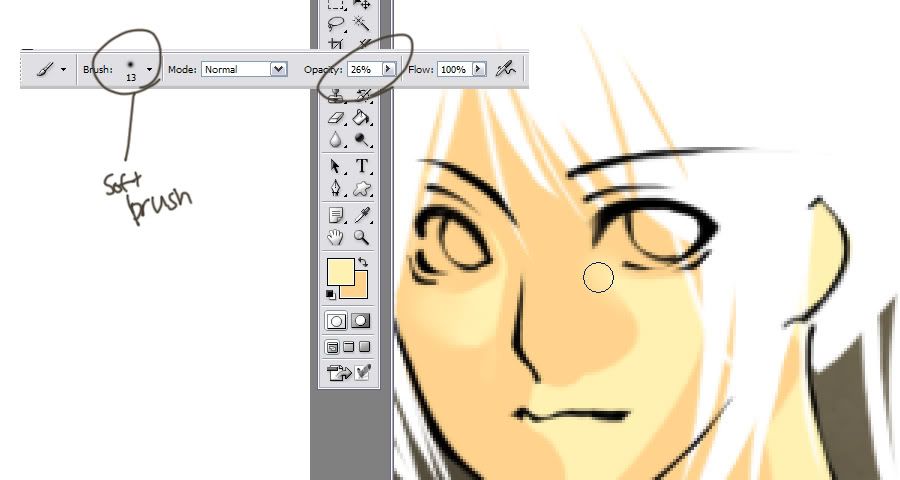
Step 9: Use the SOFT BRUSH tool at Opacity 20% or so, and smooth out the shading. Try different methods of blending and smoothing. :> EXPERIMENT my children~
RINSE LATHER REPEAT for clothes :>
Basic skin is done. Try using multiple colors for shading. I used only 2 colors for skin, because this is a quick tutorial. The more colors = more depth :>
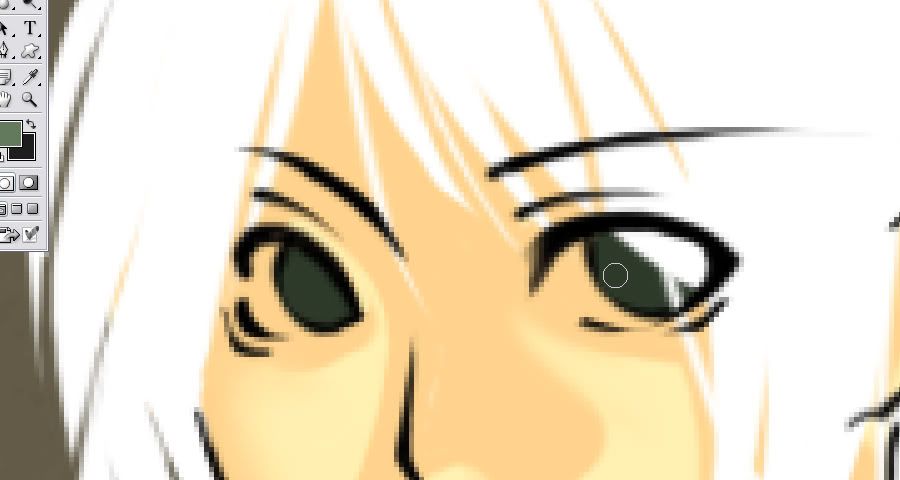
Step 10: ABOVE the skin layers, add another layer, but dont group them together. Color in the flat colors for the eye.
Step 11: Again, using the SOFT and HARD brushes, color in the eyes. I generally shade first, then highlight.
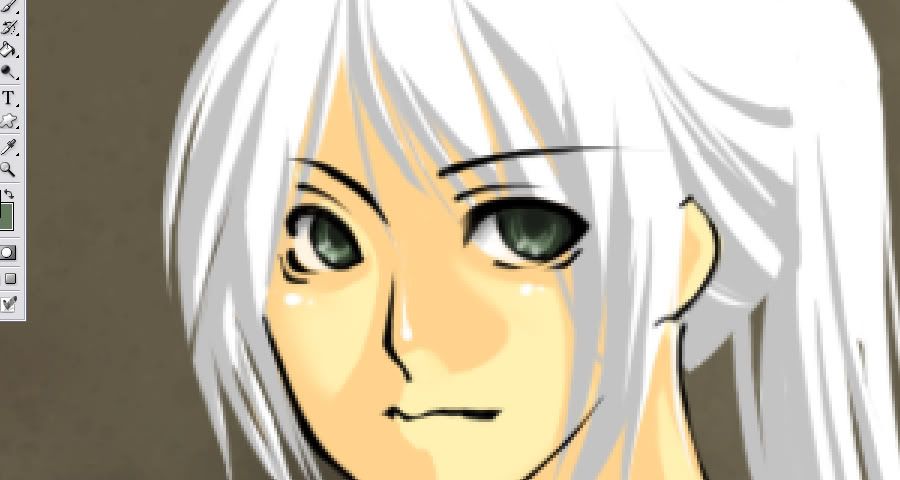
Step 12: ABOVE the white layer of the hair, create new, then group again. Add shading. This time, I used hard shading since I was going for simple hair :> if you wish, you can blend and smooth here too.
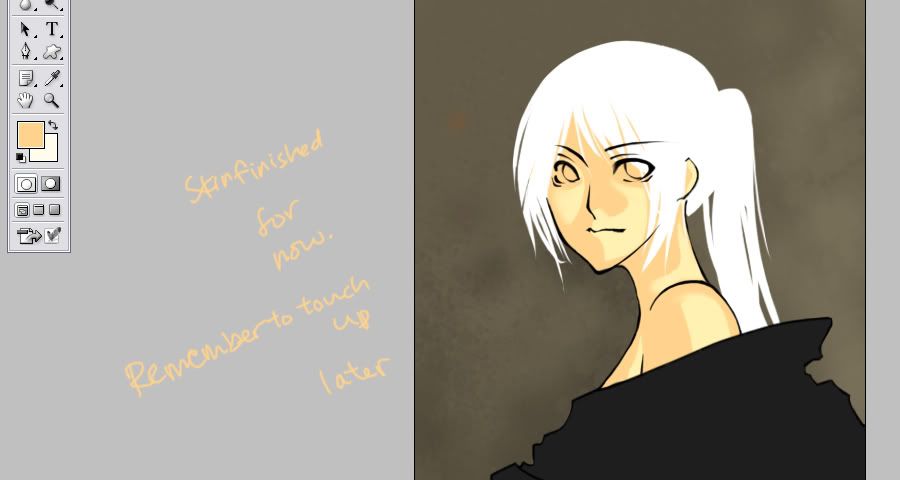
Add finaly details to the shading ,etc.
This is the end of the tutorial
I hope it was somewhat understandable XD; *not amazing at explaining things*
I'm sorry I cant give a more indepth tutorial. *mainly uses Open Canvas*
|
|
|
|
|
Lady Arucard
ʘ‿ʘ
|
|
03-03-2007, 10:57 PM
OMG... Thank you so much...!!!!! I will try it out when I get to school on Monday *nod nod*
|
|
|
|
|
Celeone
\ (◡) /
|
|
03-04-2007, 12:19 AM
Nice tutorial! Thanks for showing it here ^^
|
|
|
|
| Currently Active Users Viewing This Thread: 1 (0 members and 1 guests) |
|
|
|